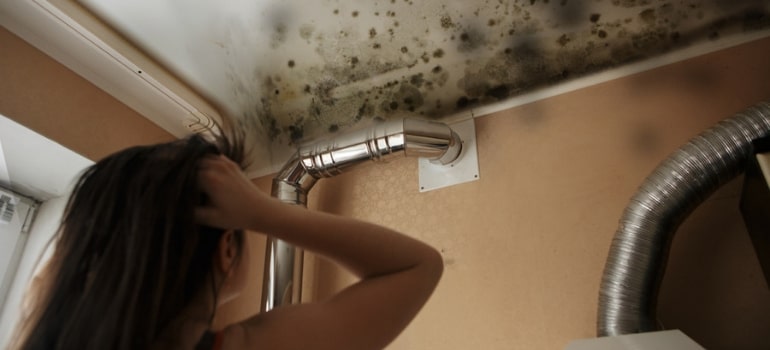
Mold can be a pesky problem in your shower, especially on the caulking. It not only looks bad but can also be harmful to your health. Knowing how to remove mold from shower caulking is important for keeping your bathroom clean and safe. This guide will show you the steps, tools, and tips you need to get rid of mold effectively.
What Causes Mold to Form on Shower Caulking?
Mold loves damp places, and your shower is the perfect spot for it to grow. High humidity, water splashes, and poor air circulation make shower caulking a mold magnet. When water sits in tiny cracks or old caulking, mold can settle in and spread.
Tools and Supplies You Need for Mold Removal
To tackle mold in your shower, you’ll need a few tools and supplies:
- Scrub Brush: For scrubbing away mold.
- Gloves: To protect your hands.
- Mold Remover Spray: A special spray designed to kill mold.
- Mold Stain Remover: This helps to lift stains that are tough to clean.
- Mold Removal Gel: For those stubborn mold spots.
- Caulking Removal Tool: If you need to take out old caulking.
Having these tools ready will make your mold removal job easier.
Step-by-Step Instructions to Remove Mold from Shower Caulking
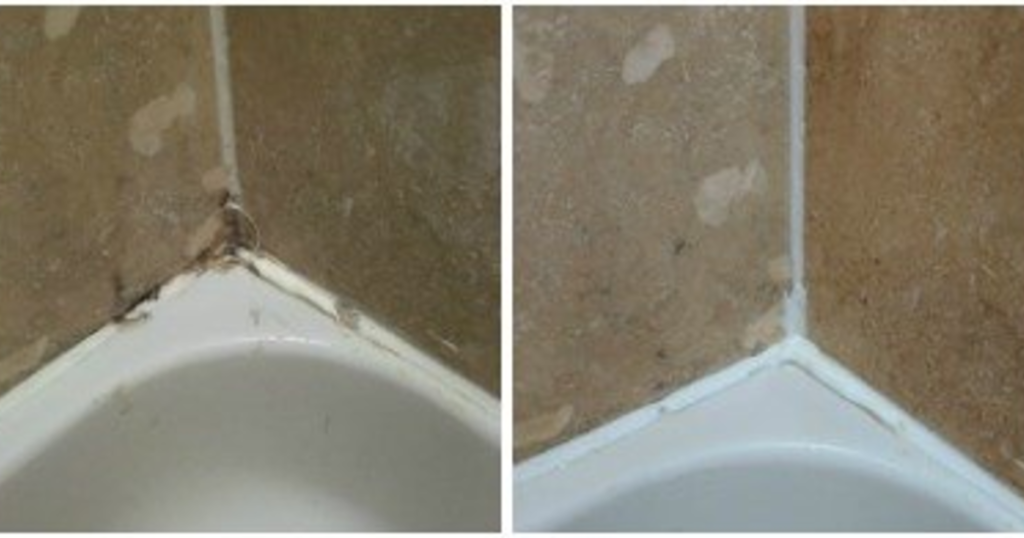
Here’s how you can remove mold from your shower caulking:
Step 1: Prepare the Area
Start by drying the area completely. Remove any loose debris or soap scum. This makes it easier to see and remove the mold.
Step 2: Apply Mold Remover Spray
Take your remove mold remover spray and apply it directly to the moldy caulking. Let it sit for about 10–15 minutes. This gives the spray time to work.
Step 3: Scrub the Area
Using your scrub brush, gently scrub the mold away. Use a circular motion for the best results.
Step 4: Use Mold Removal Gel for Tough Spots
If some mold is still stuck, grab the mold removal gel. Apply it to the stubborn spots and let it sit for another 10 minutes. This helps to lift the mold.
Step 5: Scrub Again and Rinse
After letting the gel sit, scrub the area again. Rinse it well with water to remove any leftover mold and cleaning products.
Step 6: Dry the Caulking
Finally, dry the caulking completely. Use a towel or let it air dry. This step is key to stopping mold from coming back.
Best Mold Removal Products: Natural vs. Commercial Solutions
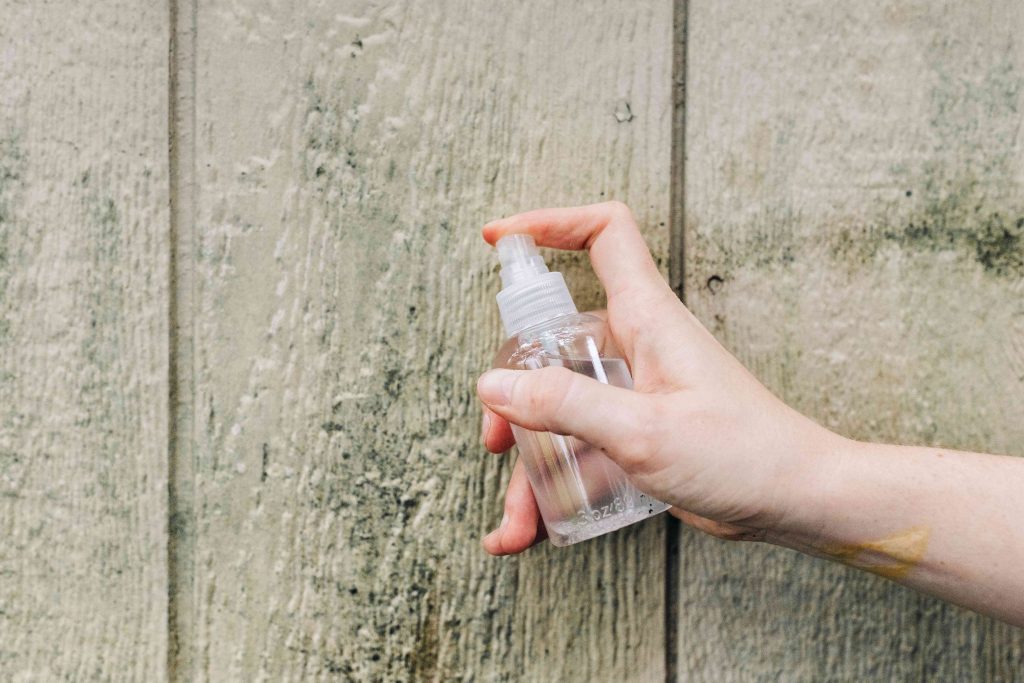
When it comes to removing mold, you have choices.
Natural Solutions:
You can use vinegar and baking soda. They are safe and easy to find but may need more scrubbing and time to work.
Commercial Products:
Products like mold remover spray, mold stain remover, and mold removal gel are stronger. They often work faster and can tackle tough stains that natural solutions might miss.
Choose what works best for you based on your needs and how much mold you have.
Cost of Mold Removal: What to Expect
If you want to remove mold yourself, here’s what you can expect to spend:
- Mold Remover Spray: $10–$20
- Mold Stain Remover: $15–$25
- Mold Removal Gel: $20–$30
Total DIY Cost Estimate: You might spend around $10 to $50 for basic supplies.
If you prefer hiring someone to do it, here are the costs:
- Inspection Fee: $50–$150
- Hourly Labor Cost: $70–$120 per hour
- Full Mold Removal for a Small Area: $200–$600
Hiring a pro is more expensive but ensures a thorough job.
How to Prevent Mold from Returning to Your Shower Caulking
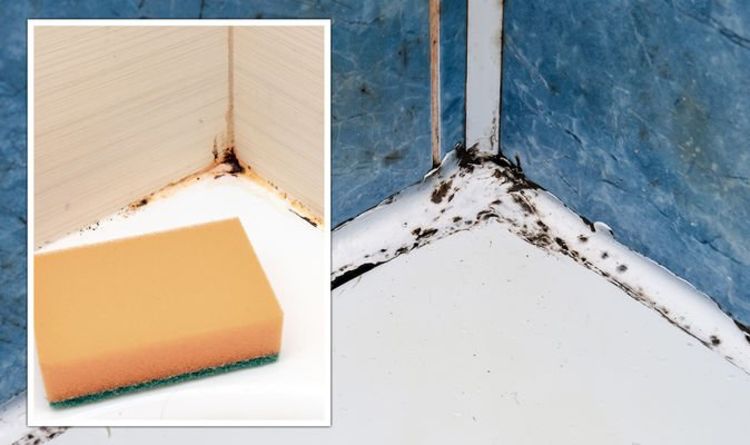
Once you remove the mold, you want to keep it from coming back. Here are some tips:
- Use Mold-Resistant Caulking: When sealing your shower, choose caulking that resists mold.
- Clean Regularly: Use a mold remover spray every few weeks to keep your shower fresh.
- Ventilation is Key: Open a window or use a fan to let moisture escape. This helps keep your shower dry.
- Wipe Down Surfaces: After showering, quickly wipe down the walls and caulking. This prevents moisture buildup.
How Long Does It Take to Remove Mold from Shower Caulking?
The time it takes to remove mold depends on how bad it is. If the mold is light, a remove mold remover spray might do the job in under 15 minutes. For tougher mold, using a mold removal gel could take around 30 minutes.
DIY Mold Removal vs. Hiring a Professional: Pros and Cons
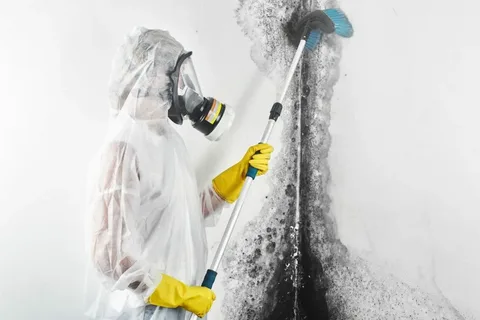
Let’s compare DIY mold removal to hiring a professional:
DIY Methods:
- Pros: Cost-effective, convenient, and you can use products like mold stain remover.
- Cons: It might not work for very heavy mold and could take longer.
Professional Services:
- Pros: Thorough cleaning and better for severe mold problems.
- Cons: More expensive than doing it yourself.
Consider your situation and budget when choosing.
How to Choose Mold-Resistant Caulking for Long-Term Prevention
When resealing your shower, look for mold-resistant caulking. This type is specially made to fight mold growth. Pair this with regular cleaning using a remove mold remover spray to keep your shower looking good and mold-free.
FAQs
1. Can I use bleach to remove mold from shower caulking?
Yes, bleach can help remove mold, but it may not always be effective on porous surfaces like caulking. It can also weaken the caulking over time, so use it sparingly.
2. How often should I clean my shower to prevent mold?
Aim to clean your shower every couple of weeks to keep mold from building up. Regular cleaning helps to keep surfaces dry and mold-free.
3. Is it safe to use commercial mold removers around kids and pets?
Many commercial mold removers can be safe when used correctly. Always read the label for safety instructions and consider ventilating the area while cleaning.
4. What should I do if the mold comes back after cleaning?
If mold returns, it may be due to excess moisture or damaged caulking. Re-evaluate your cleaning routine and consider resealing with mold-resistant caulking.
5. How can I tell if I have mold in my shower?
Look for dark spots or discoloration on the caulking and walls. If there’s a musty smell or if you notice health issues, you might have mold.
Conclusion
Removing mold from shower caulking doesn’t have to be a big task. With the right tools and steps, you can do it yourself. Use mold remover spray, mold stain remover, or mold removal gel to tackle the mold. Remember to clean regularly and use mold-resistant caulking to prevent mold from returning. Keeping your bathroom clean and safe is worth the effort!

